Your menu speaks before your staff does. If it’s hard to read, slow to update, or missing visual appeal, customers notice—and sales can slip. The right layout, placement, and format can shape decisions, highlight your most profitable items, and speed up ordering during your busiest hours.
This post shares practical menu display ideas that improve both customer experience and service efficiency. Whether you’re working with digital screens, tablets, or chalkboards, these options are easy to implement, cost-effective, and can connect seamlessly with your POS setup.

Here are 10 smart, practical menu display ideas to boost ordering speed, increase check averages, and improve customer flow.
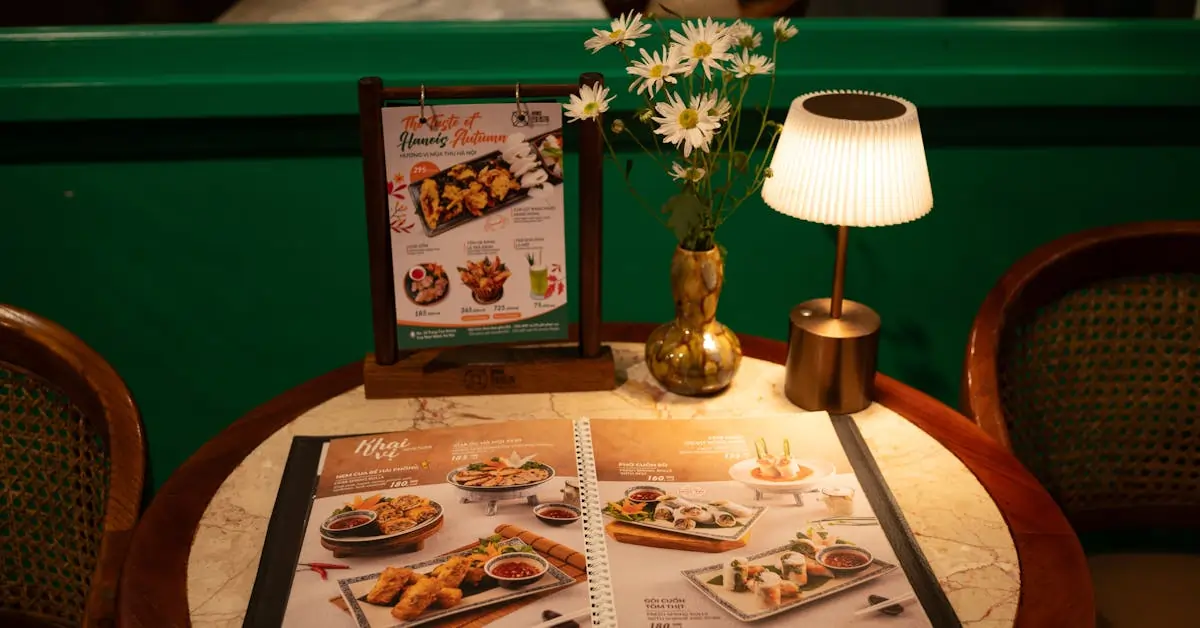
Digital menu boards help guests make faster decisions by showing clean, clear visuals. You can rotate items throughout the day, add videos, and highlight promos at the right time.
Use bright, high-contrast graphics that pop from across the room. Breakfast combos in the morning, lunch specials by noon, and upsell suggestions by evening. Timing each section helps drive sales when it counts.
These boards also give you more control. Instead of reprinting menus or manually swapping out signs, you can update prices, photos, and availability directly through your POS system. This saves time and keeps everything accurate.
Digital displays work well above counters, behind the register, or at self-order kiosks. They reduce delays, cut down on questions, and give guests a clear view of what you offer.
If you’re running high-volume service, especially during peak hours, this setup helps you keep orders moving while still promoting key items.
Tablet menus give guests a clear, interactive way to browse your offerings. They eliminate the need to wait for printed menus and let customers explore items at their own pace. With images, modifiers, and descriptions built in, it’s easier to guide ordering decisions.
You can prompt add-ons like drinks, sides, or desserts right before checkout. This increases the average ticket size with minimal effort. Guests tend to spend more when suggestions are visual and well-timed.
When tablets connect to your POS system, orders go straight to the kitchen, reducing errors and saving time for staff. This keeps the flow steady during peak hours and helps your team focus on service.
Key benefits:
Tablet menus work especially well in dine-in setups where convenience, speed, and upselling make a difference.
Chalkboards are simple, effective, and low-cost. You can update them daily and use them to draw attention to high-margin dishes or specials.
They fit well in casual dining rooms, coffee shops, or counter-service setups. You don’t need special software or design tools, just clear handwriting and a layout that makes sense from a few feet away.
Use chalkboards to:
Mount them behind the counter, place them on sidewalks, or set smaller versions at each table. They add a casual, personal feel while helping guests focus on what you want them to see first. For a cleaner look, use chalk markers instead of traditional chalk. They’re easier to read and don’t smudge as easily.
Wall-mounted and hanging boards help you make the most of vertical space. They clear clutter from counters, keep lines moving, and create a clean visual path to the register. If your layout feels tight, lifting the menu off the surface opens up the space and makes it easier for guests to decide before they order.
Use large fonts, clear sections, and high-contrast backgrounds. Position the boards where people naturally look when they enter or approach the counter. This helps reduce delays during busy times.
You can update printed panels easily or use dry-erase boards for daily specials. For a more polished option, install framed designs with printed inserts. If you prefer digital, mount a screen that rotates featured items or highlights add-ons.
Quick tips:
This setup works especially well in fast-casual and counter-service formats, where speed and clarity have a direct impact.
QR code menus keep things simple and efficient. Guests can scan, browse, and order directly from their phones. You don’t need extra hardware or constant printing. Just place QR codes on tables, windows, or counters.
They’re easy to update:
You control everything from a single dashboard. If you use a POS that supports digital menus, updates sync instantly. That means no reprinting or reformatting when your menu changes.
QR menus also help speed up service. Guests can view the menu while waiting or sitting down, which cuts ordering time. They're a great fit for dine-in, takeout, and even outdoor setups.
Lightbox menus keep your display bright and readable from morning through closing. Their backlit design helps your menu stand out in dim or low-light settings, which is especially helpful if your restaurant operates later in the day or sits on a busy street.
A few benefits to highlight:
If you want a display that stands out during busy hours and stays consistently visible, a lightbox menu offers a reliable, eye-catching option that fits easily into most restaurant layouts.
Rotating displays helps you keep your menu fresh and relevant throughout the day. Use a slideshow screen, digital frame, or flip-style board to feature specials, combo deals, or seasonal items. Switching out visuals at key times, like lunch or dinner, can boost attention and shift focus to high-margin dishes.
This approach works well near the counter, entrance, or self-order kiosk. Highlight:
By updating content regularly, you build anticipation and encourage quick decisions. Guests notice what's new, and your featured items stay top of mind. Keep messages clear, timing consistent, and visuals appealing to drive interest and increase average order value.
Countertop displays work well in high-traffic areas where guests make fast decisions. They help guide attention to items you want to promote and keep your ordering line moving.
Use them near the register, at self-serve stations, or beside grab-and-go items. A clear, well-placed display can encourage upgrades and keep your most profitable choices front and center.
Here are a few simple ways to make countertop displays more effective:
Countertop displays require minimal space and setup, and they work well with both printed inserts and digital screens. This makes them one of the easiest menu display ideas to introduce into your existing layout.

Suspended panels create a clean, organized menu layout that’s easy to scan from a distance. Mounted above counters or along ordering lines, they guide guests through choices while keeping the counter space clear.
This setup works well in fast casual or quick-service formats where customers order at the counter. Panels can be made from acrylic, wood, or metal frames and hung using cables or ceiling mounts. Use clear sections, bold fonts, and category dividers to speed up decision-making.
Benefits:
If your setup includes digital menu boards, suspended displays can complement them by showing static combos, value meals, or all-day specials. They’re easy to clean, durable, and look polished in small or high-volume spaces.
When your menu display connects directly to your POS system, updates happen instantly. You can change pricing, mark items as sold out, or push new promos across all screens in just a few clicks. This keeps your staff aligned and your menu accurate throughout the day.
You don’t need to print new materials or explain unavailable items at the counter. Customers see exactly what’s available, what’s new, and what’s featured right when it matters.
Here’s how it helps:
It works well with digital menu boards, self-order kiosks, tablets, or any display connected to your POS. You save time, improve consistency, and make on-the-fly updates during peak hours.
This kind of setup gives you more control over what guests see and when they see it.
The way you present your menu shapes how guests order, what they notice first, and how smoothly service runs. Simple changes like adjusting placement, using digital displays, or highlighting add-ons can lead to better experiences and stronger sales. These menu display ideas help you stay flexible, speed up ordering, and spotlight the items that matter most to your business.
Chowbus POS makes it easy to connect your menu displays with your ordering system, so updates are fast, accurate, and stress-free. See how you can streamline service and manage your menu in real time.
Book a Free Demo with Chowbus POS today to get started.

Choosing the right menu display can directly impact your sales, service speed, and customer experience. Below are answers to common questions that help you make effective, practical choices for your restaurant.
An ideal menu layout highlights bestsellers, organizes items by category, and guides the eye with clear headings and spacing. Use high-quality images sparingly, keep descriptions short and appetizing, and place high-margin items in the top-right or center sections where customers naturally look first. Ensure readability with clean fonts and contrasting colors.
Greet the guest warmly, then hand them the menu or direct them to it, whether printed, on a tablet, or displayed on a board. If using a digital or QR code menu, explain how to access it. Highlight any specials or chef recommendations to guide their attention. Stay nearby to answer questions and give them time to browse comfortably.
In 2025, menu design focuses on clean typography, high-contrast colors, and minimalistic layouts that enhance readability. Digital menus with touchless access via QR codes remain popular, often paired with a responsive design for mobile optimization. Visual elements like high-quality food photography and short video loops boost engagement. Sustainability also influences design. Many restaurants use recyclable materials or integrate digital-only options to reduce waste.
Yes, you can use a TV as a menu board. Modern TVs offer a flexible and cost-effective solution for displaying your menu. Connect a media player or small computer to the screen. This setup lets you change items, prices, and promotions instantly. You can show high-quality images and videos of your food to attract customers. Using a TV can reduce printing costs and keep your menu current. Ensure the TV is mounted securely and that the text is large enough for customers to read easily.
Prioritize clean design and easy navigation. Choose a readable font and use whitespace to avoid clutter. Organize dishes into clear sections like appetizers, mains, and desserts.
Group similar items together and list them in a logical order. Use descriptive, appealing language for each dish. Highlight signature items or bestsellers with subtle design cues.
Incorporate high-quality photos of your most popular dishes. Select durable materials that match your restaurant's style. Review and update your menu regularly to reflect seasonal changes and customer preferences.
Looking for more ideas to improve your restaurant’s performance? Check out our blog section for insights, tips, and updates on the latest in restaurant tech and operations.

Recommended Articles: